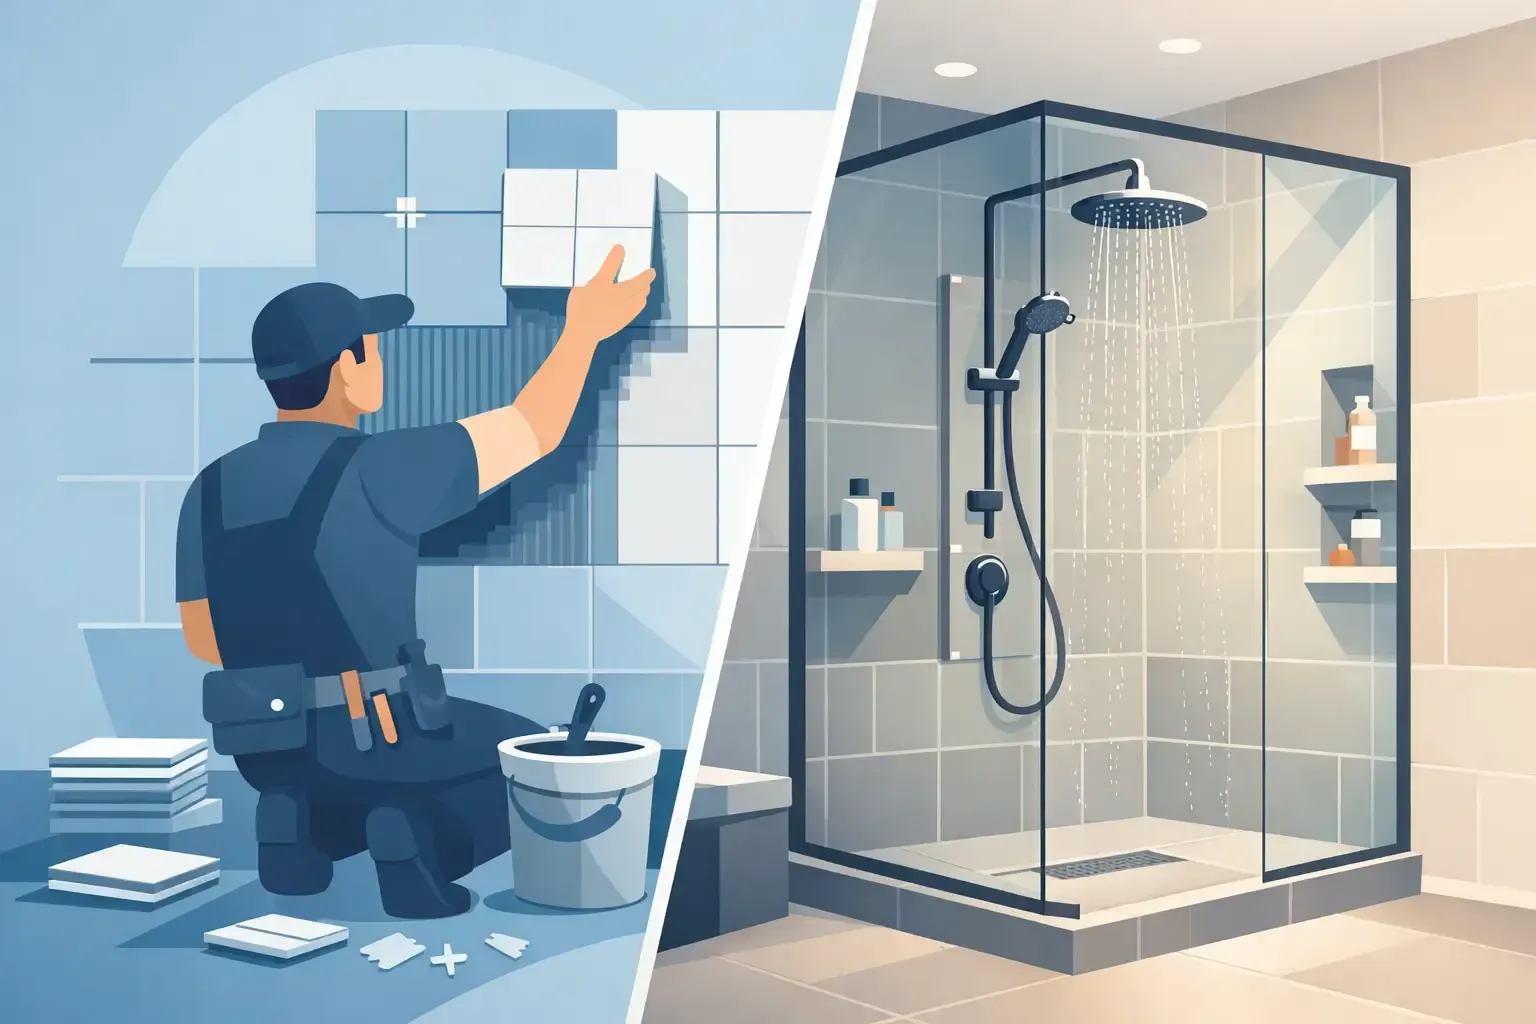
A custom tile shower installation is one of the most visible upgrades in a bathroom remodel, but its real value is built behind the tile. The shower may look complete once grout lines are clean and fixtures are in place, yet its long-term performance depends on framing, drainage, waterproofing, and precise finish work. For Seattle homeowners, where moisture management matters year-round, those details are not optional.
A well-built shower should feel tailored to the way your household uses the space while protecting the surrounding structure from water damage. That means making smart decisions early, before tile selections or fixture finishes take center stage.
Start With How the Shower Will Be Used
The best shower design begins with practical questions. Is this the primary bathroom used by a busy family, a compact guest bath, or a refined primary suite designed for daily comfort? The answer affects the size of the shower, the door configuration, storage needs, tile selection, and even the best location for controls.
A larger walk-in shower can create a more open bathroom and improve accessibility, but it also requires careful planning for water containment. A curbless entry, for example, offers a clean, modern look and can make the space easier to navigate. It may require additional floor preparation to create the correct slope while maintaining a level transition to the bathroom floor.
Consider the details that make the space easier to live with: a recessed niche at a useful height, a corner bench, a handheld showerhead, or controls positioned where they can be reached without standing under cold water. These are small choices on a drawing, but they have a lasting effect on daily use.
Custom Tile Shower Installation Begins Behind the Walls
Tile and grout are finish surfaces, not the waterproof barrier. This distinction is central to a durable custom tile shower installation. Water can pass through grout joints and around penetrations, which is why the assembly behind the tile must be designed to direct moisture safely toward the drain.
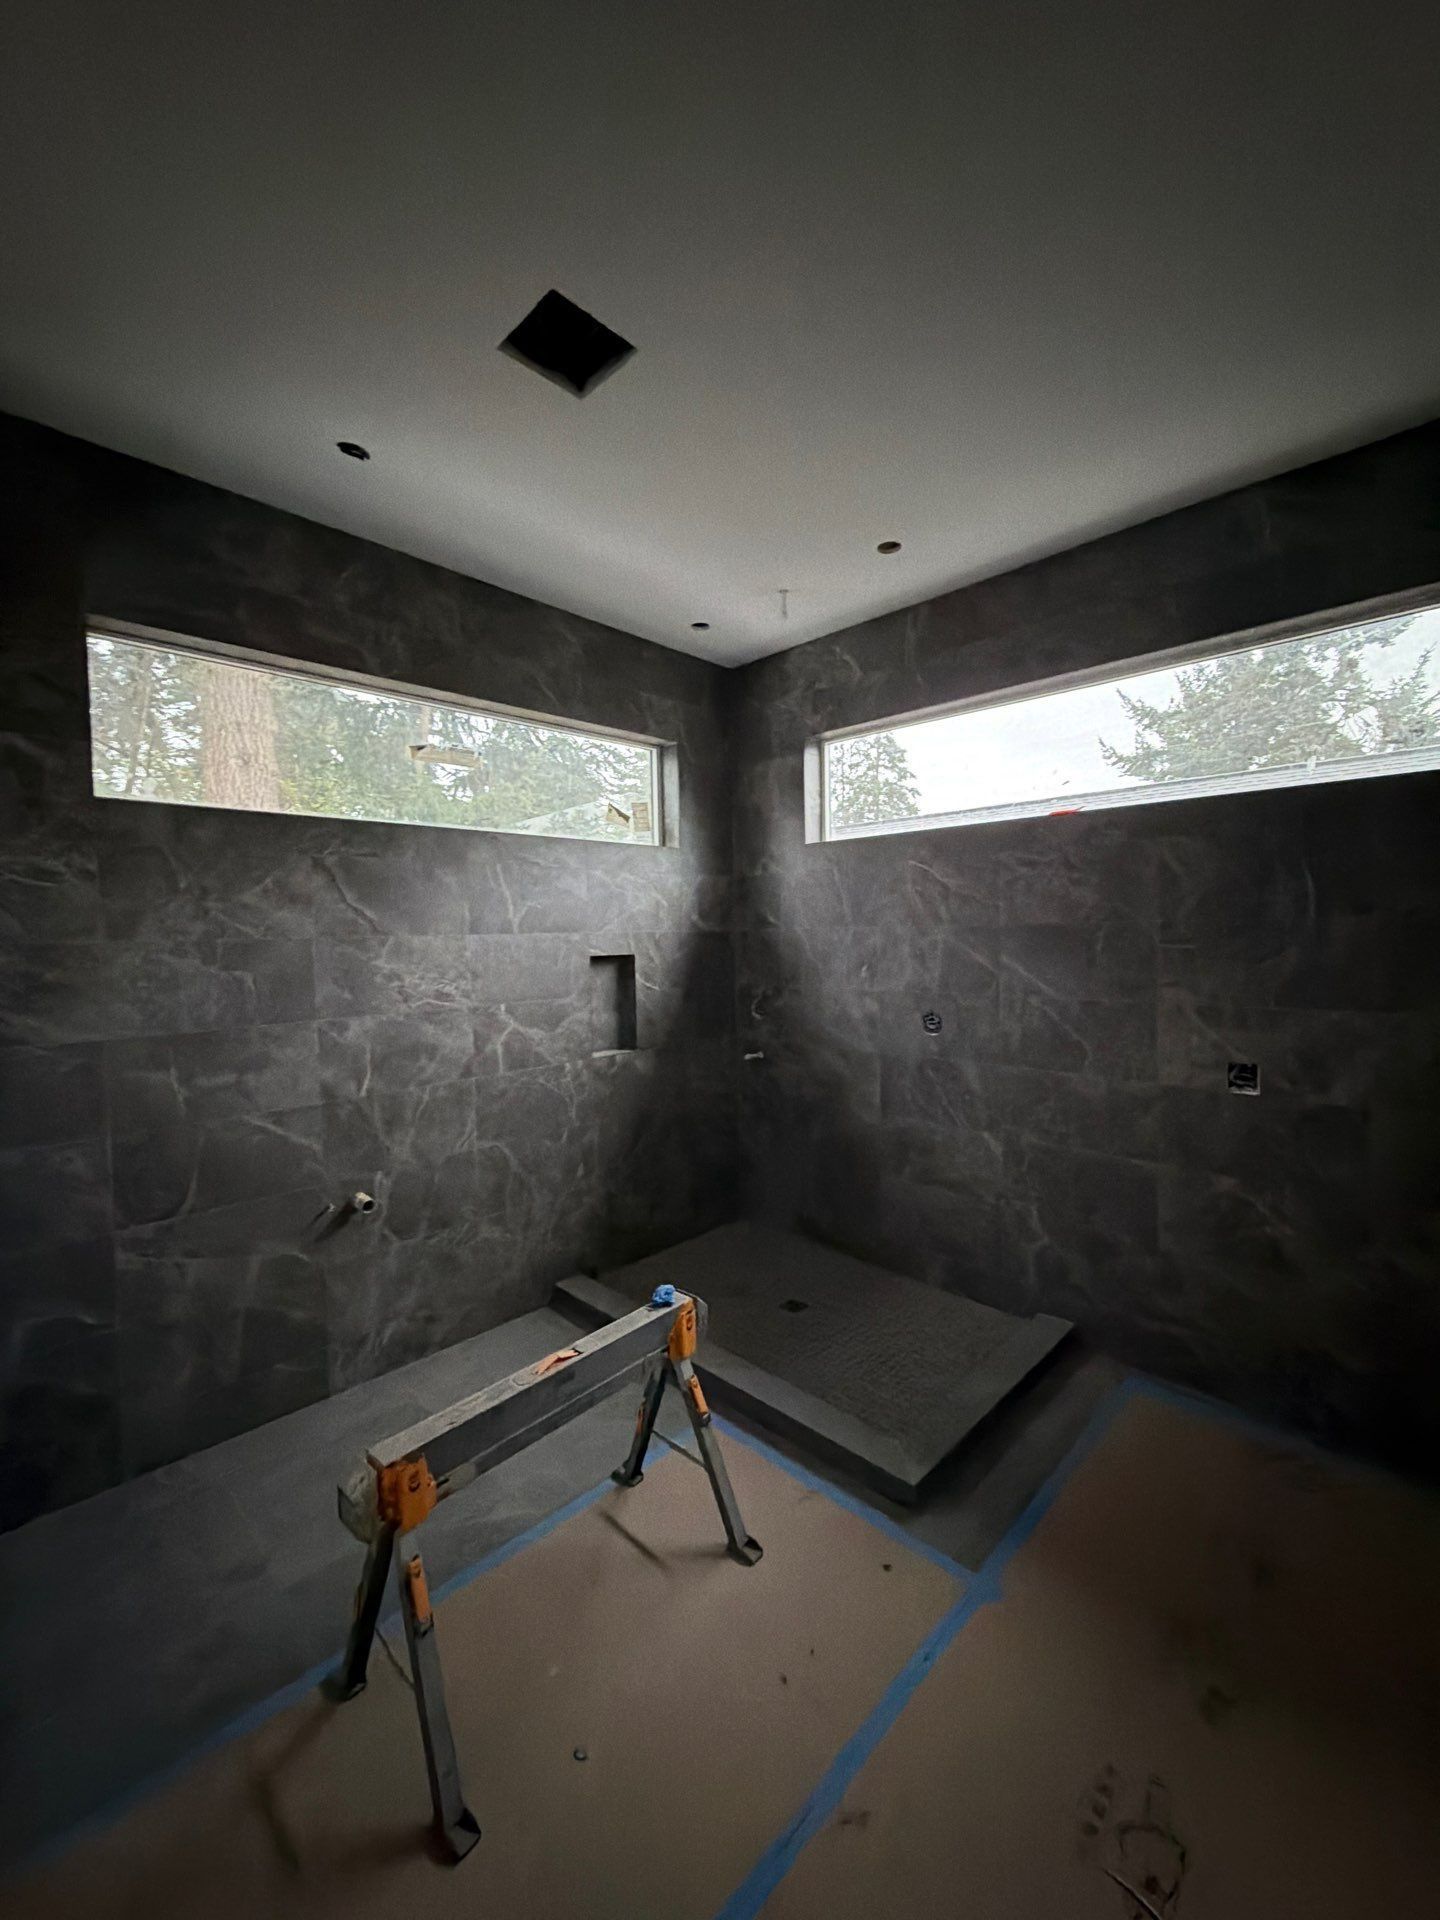
Before any waterproofing is installed, the shower framing should be inspected and corrected as needed. Walls need to be plumb, flat, and properly supported. Uneven framing can lead to lippage, where adjacent tiles sit at noticeably different heights, and it can make large-format tile especially difficult to install cleanly.
The shower pan also needs the correct slope. Water should move consistently to the drain rather than pooling in corners or along edges. The standard target is a minimum slope of one-quarter inch per foot toward the drain, though the final approach depends on the shower size, drain style, and tile selected.
A qualified installer then creates a continuous waterproofed enclosure using a compatible shower system. This includes the walls, pan, corners, seams, curb or entry transition, niche, bench, and drain connection. Every penetration for a valve, shower arm, or accessory requires careful sealing. A beautiful shower can fail if one of these transitions is treated as an afterthought.
For older Seattle homes, this stage may also reveal issues that deserve attention before the new finishes go in. Water staining, soft subflooring, outdated plumbing, insufficient ventilation, or hidden mold should be addressed properly rather than covered over. Resolving those conditions during the remodel protects the investment and helps avoid opening finished tile later.
Choose Tile for Performance as Well as Style
Tile selection shapes the look of the shower, but it also influences installation complexity, cleaning needs, and traction underfoot. Porcelain is a popular choice because it is durable, low-absorption, and available in a wide range of colors and stone-inspired finishes. Natural stone can bring distinctive character, but it generally requires more ongoing care and sealing.
Large-format wall tile can make a shower feel expansive by reducing the number of grout lines. It also demands very flat walls and experienced installation. Smaller tile, particularly mosaic tile, is often practical for shower floors because its many grout joints provide added traction and allow the material to follow the pan slope more easily.
Finish matters. A polished tile may be striking on shower walls, while a honed or textured surface can be a better fit for the floor. This is not simply a style decision. The right floor tile should offer confident footing when wet without creating a surface that is unnecessarily difficult to clean.
Grout color deserves the same consideration as tile. A high-contrast grout pattern can emphasize a geometric layout and bring visual energy to the room. A closely matched grout creates a quieter, more continuous appearance. In either case, grout joints should be planned around the tile size, layout, and manufacturer recommendations, not chosen only for appearance.
Layout Is Where Craftsmanship Becomes Visible
Strong tile installation is as much about preparation as it is about setting tile. Before adhesive is applied, the installer should establish the layout, identify the focal wall, account for the drain and fixtures, and avoid awkward cuts at highly visible edges.
In many showers, it makes sense to center the tile pattern on the main wall or align it with the niche and valve trim. This may mean adjusting cuts at the corners so the finished composition feels intentional. Narrow slivers of tile, misaligned grout lines, or a niche that interrupts the pattern can distract from even the most premium materials.
A niche is a good example of why coordination matters. Its size and placement should be based on the tile module whenever possible, not simply framed at a convenient location. When the niche aligns with the surrounding grout joints, the result looks integrated rather than inserted.
Edges require equal attention. Depending on the design, tile may terminate with a mitered corner, a coordinating trim piece, or a metal profile. Each option has trade-offs in cost, durability, and appearance. Mitered edges can provide a refined, nearly uninterrupted look, but they require accurate cutting and can be more vulnerable to impact than a protective trim profile.
Coordinate Plumbing, Glass, and Ventilation Early
A shower is not a tile-only project. Plumbing rough-in, electrical work, lighting, ventilation, and glass all affect the finished result. Coordinating these trades before installation helps prevent costly changes after waterproofing and tile are complete.
For example, a linear drain can support a clean, single-direction floor slope and work well with larger floor tile in the right application. A center drain is often more economical and may be easier to integrate in an existing layout, but it typically requires smaller floor tile to accommodate multiple slopes. Neither is automatically better. The right choice depends on the room, budget, and desired design.
Glass should also be planned early, especially for frameless doors or fixed panels. The opening dimensions, curb width, wall conditions, and hardware locations must all be considered. A door that looks ideal in a showroom may not suit a tight bathroom if it interferes with a vanity, toilet, or circulation path.
Ventilation is another practical priority. A properly sized, correctly ducted exhaust fan helps reduce moisture after showers and supports the longevity of paint, drywall, cabinetry, and finishes throughout the bathroom. In a Seattle-area home, it is a basic part of protecting the remodeled space.
Know What Affects the Budget
Custom showers vary widely in cost because the visible tile is only one part of the work. Labor and materials increase when a project involves moving plumbing, rebuilding framing, correcting water damage, creating a curbless entry, installing a linear drain, adding multiple niches, or using large-format or natural stone tile.
The smartest approach is not to strip out the construction details that keep the shower performing properly. Instead, establish priorities. A homeowner may choose a simpler tile field and reserve the budget for a full waterproofing system, quality fixtures, and a carefully built pan. Another may keep the existing plumbing location to invest in a statement wall or custom glass. Good planning makes those trade-offs clear before construction begins.
Protect the Finish After Installation
Once the shower is complete, routine care helps it stay that way. Use a squeegee on glass and tile where practical, run the exhaust fan during and after showering, and clean surfaces with products appropriate for the tile and grout. Avoid harsh acids or abrasive cleaners, particularly on natural stone and specialty finishes.
Pay attention to changes over time. Cracked grout, loose tile, persistent staining, or water outside the shower enclosure should be evaluated early. These signs do not always mean the shower assembly has failed, but prompt attention can prevent a minor issue from becoming a larger repair.
At Fortress Build & Finish, we approach shower remodeling as a complete construction and finish project, not a surface update. The goal is a bathroom that reflects your style, functions comfortably every day, and is built with the quality and care you can trust. A thoughtful plan and skilled execution give your new shower the best chance to look exceptional long after the final grout has cured.