Rebuilding to Remodel Standard: Why a Repair Shouldn't Look Like One

ryanwatt425 • August 28, 2026

Share this article

Rebuilding to Remodel Standard: Why a Repair Shouldn't Look Like One

Short answer


Insurance rebuilds are often identifiable as rebuilds because the scope is written to restore function, the schedule rewards speed, and the finish trades are frequently the last thing anyone specifies. None of that is required by the policy. The obligation is to return the property to pre-loss condition — and a visible patch isn't that.


---


Why so many rebuilds look like rebuilds


Four structural reasons, none of them about anyone being careless.


**1. The scope is written for function, not for finish.** An adjuster's estimate prices "R&R drywall, 240 SF." It doesn't say how the new trim meets the old trim, whether the substrate under the new tile gets flattened, or how the paint break lands. Those decisions get made in the field by whoever is standing there.


**2. Speed is rewarded.** Everyone wants the job done — you, the carrier, the contractor, the mortgage servicer holding the funds. Curing times, substrate preparation and careful millwork matching all cost days.


**3. Restoration general contracting is a volume business.** It's optimized for throughput and standardized pricing, which is the right optimization for a lot of losses. It's a different optimization from finish craft.


**4. Nobody owns the transition between old and new.** The hardest part of any rebuild is the boundary — where the new floor meets the old floor, where the new casing meets the hundred-year-old casing, where the new paint stops. That boundary is what makes a repair visible, and it's rarely in anyone's scope explicitly.


The five places a rebuild usually gives itself away


**1. The trim doesn't match.** A 1920s Seattle house has fir casing with a profile no supplier stocks. The rebuild uses the closest modern stick, and now two profiles meet at an inside corner. This is the single most common tell.


**The fix:** run a custom knife to reproduce the original profile. It costs less than most people assume and it removes the tell entirely.


**2. The tile is lippy.** New tile set on a substrate that wasn't flattened. The industry standard for tile with any edge 15 inches or longer allows no more than 1/8 inch of deviation in 10 feet, and a floor that was never flat doesn't meet it. In raking light from a window, every edge shows.


**The fix:** self-leveling underlayment or a mortar bed before setting. It's a line item, and it's very often missing from the adjuster's scope — which makes it a supplement item, not an unavoidable compromise.


**3. The paint break is in the wrong place.** New paint stopped at an arbitrary line rather than at a corner or a natural break. Even with the same color, new paint and eight-year-old paint read differently, and a break mid-wall announces where the damage was.


**The fix:** paint to the corner, or paint the room. Cheap, and it's the difference between an invisible repair and an obvious one.


**4. The floor transition is a strip.** A metal or wood transition strip installed where none existed before, because the new flooring didn't match the old. It's a permanent marker showing the boundary of the loss.


**The fix:** matching coverage — see our post on that — or, where the material genuinely can't be matched, replacing the continuous area.


**5. The cabinet reveals don't hold.** New cabinets in a room that isn't square, installed without scribing or designed-in fillers. The reveal tapers across the run. Anyone can see it; almost nobody can name it.


**The fix:** measure the room's actual deviation, design the fillers and scribes into the layout, set from a laser line.


The five tells, and the fix for each


The tell Why it happens The fix
Trim profiles don't match The original profile isn't stocked anywhere Run a custom knife to reproduce it
Tile is lippy Substrate never flattened Self-leveler or mortar bed — a supplement line
Paint break mid-wall Painted only the damaged are Paint to the corner, or the room
A new transition strip New flooring didn't match the old Matching coverage, or replace the continuous area
Cabinet reveals taper Installed without scribes or designed fillers Measure the deviation, design the fillers, set from a line

What the policy actually obligates


The standard is **pre-loss condition**. Not "functional." Not "close enough." Pre-loss condition.


You did not previously have:

- Two different trim profiles meeting at a corner

- A lippy tile floor

- A visible paint break mid-wall

- A transition strip in the middle of a continuous floor

- A tapering reveal on a cabinet run


Those are new conditions created by the repair. Arguing for them to be corrected is arguing for what the policy already promises, not for an upgrade.


**Where the line genuinely is:** a better kitchen than you had is an upgrade and it's on you. A kitchen restored to the standard the original was built to is the claim. Keeping those two documented as separate columns from day one is what lets you have both conversations cleanly.


How to hold out for a proper rebuild


**Photograph the pre-loss condition — everything, before demolition.** Trim profiles in close-up with a ruler in frame. Tile with its box label if you can find it. Cabinet reveals. Paint at the corners. This documentation is the entire basis for arguing what pre-loss condition was.


**Get your reconstruction contractor on site during mitigation.** While the walls are open, when the materials are visible, before anyone has covered anything.


**Ask the substrate question.** "What flatness are you holding the tile substrate to, and how will you get there?" A specific answer means a specific plan. Vagueness means the tile is going on whatever's there.


**Ask the trim question.** "How will the new casing meet the existing casing?" If the answer is "we'll use the closest match," ask what running a custom knife costs. It's often less than the argument.


**Ask the paint question.** "Where does the paint stop?" Corners, not mid-wall.


**Supplement for what's missing.** Substrate preparation, waterproofing membrane, detach-and-reset, matching. All are legitimate line items and all are commonly omitted. With photographs and quotes attached, most get approved.


**And the question underneath all of them:** *would I hire this contractor to remodel this room if there had been no loss?* If not, they're not the right choice for the rebuild either — because reconstruction is a remodel with an adjuster's scope and an insurer's timeline attached.


The upgrade opportunity, handled properly


A loss opens the walls. That's the cheapest moment in the life of a house to do things that would otherwise require demolition:


- Insulate the exterior walls

- Replace galvanized supply lines

- Remove knob-and-tube in the affected area

- Add a circuit, or upgrade the panel

- Block for a future grab bar

- Improve the bathroom ventilation

- Correct a layout that never worked


None of this is covered by the claim — it's not loss-related. But it's genuinely inexpensive while the walls are open, and it's most of what people wish they'd done afterward.


**How to handle it cleanly:** two documented scopes from day one. The loss scope, which the carrier settles. The elective scope, which you pay for. Separate line items, separate invoices, one project. Mixing them is how a claim gets complicated and how an adjuster starts questioning the whole file.


How Fortress Build & Finish rebuilds


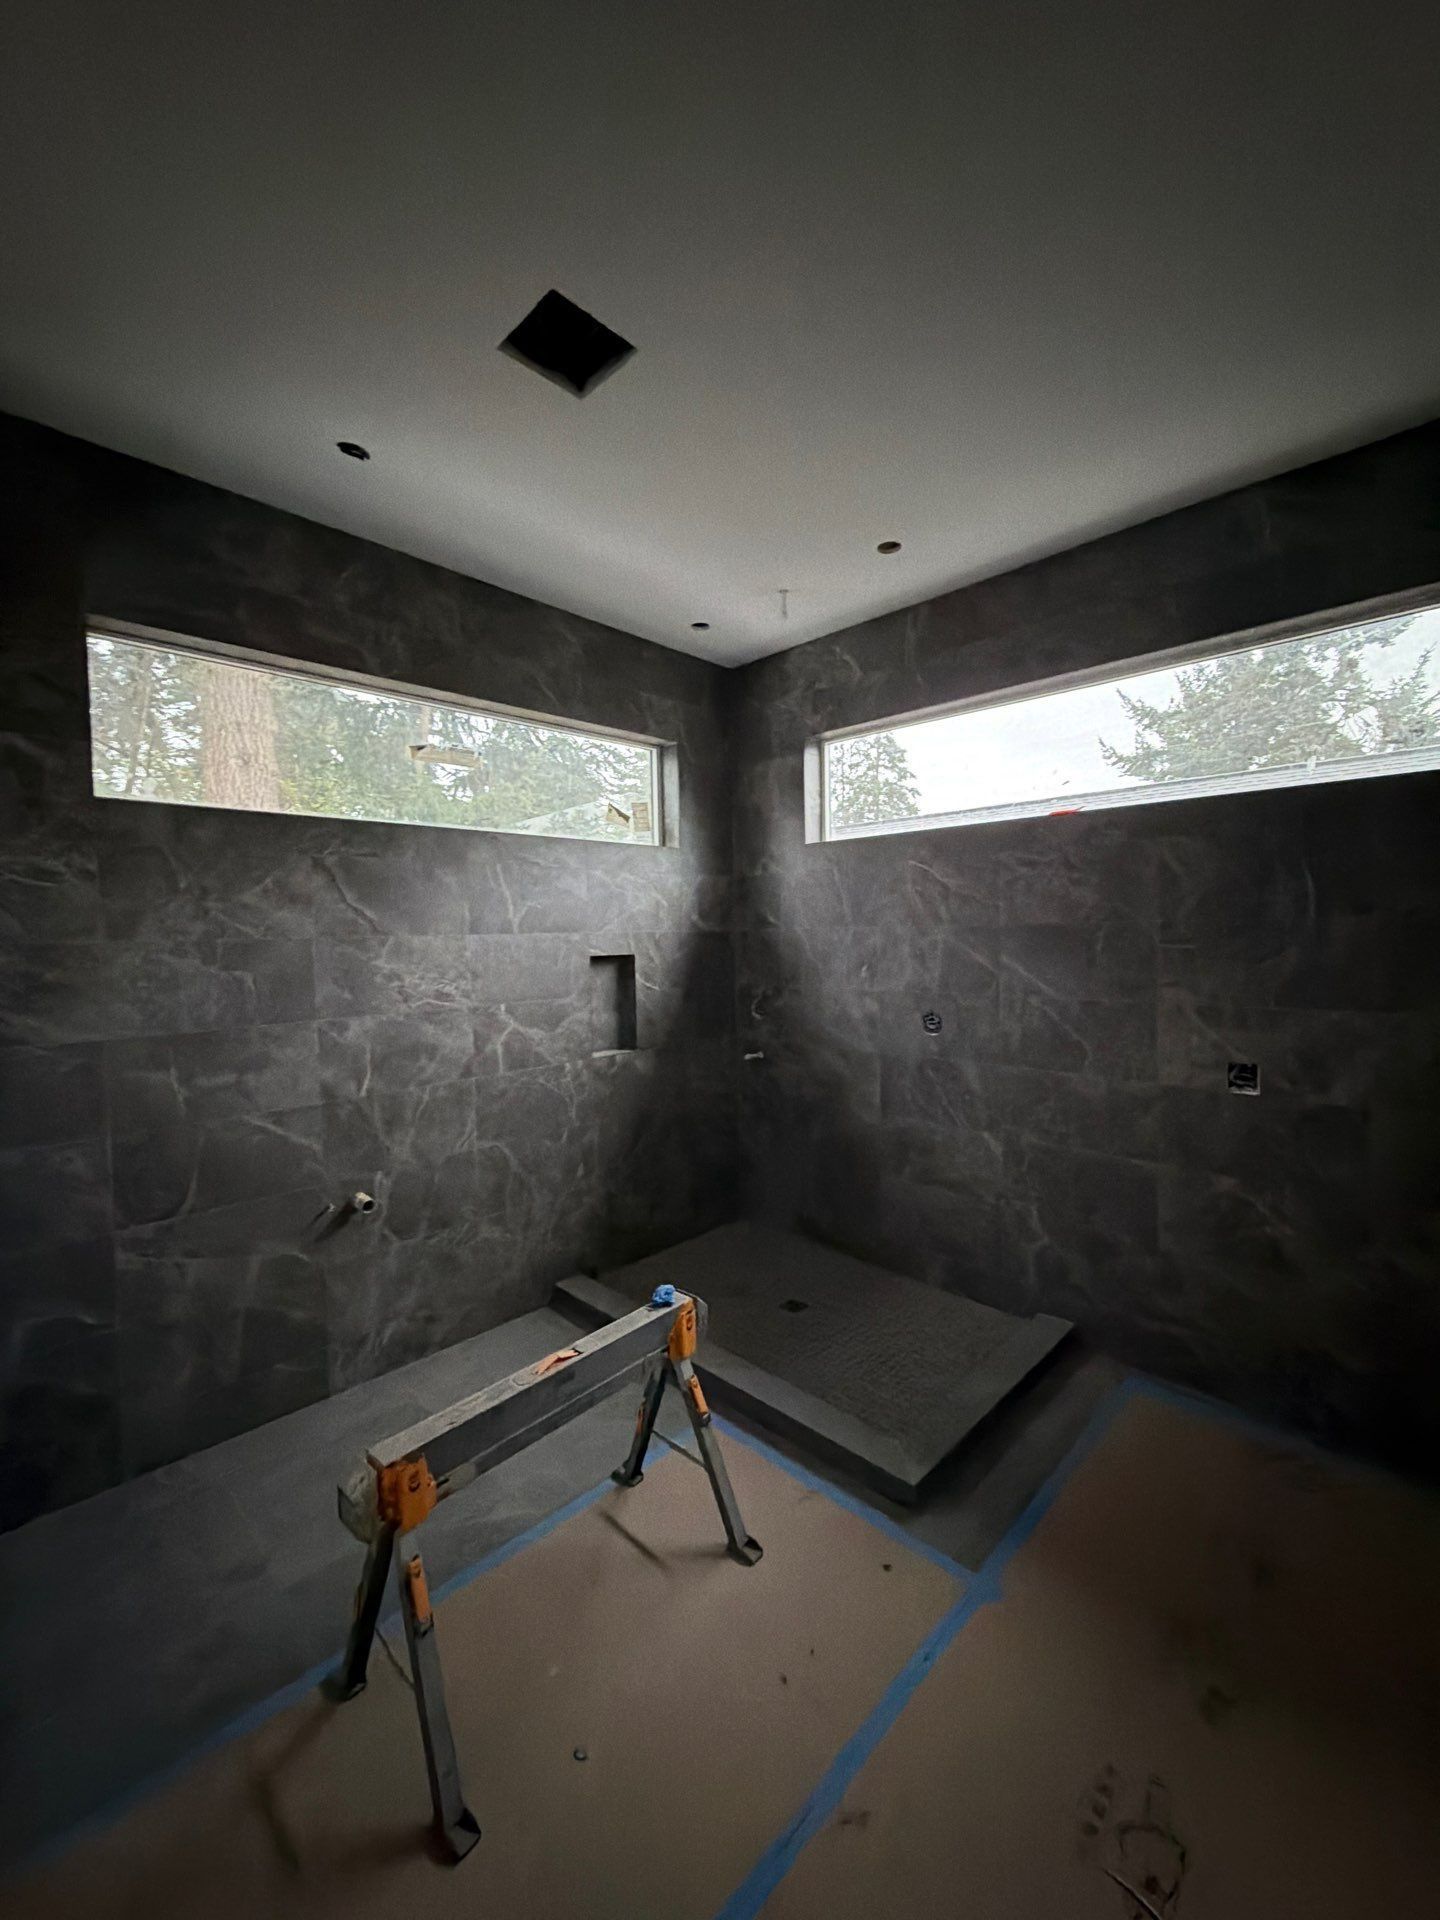
We rebuild to remodel standard, and the standard is checkable: tile substrate flattened before setting, shower pans flood-tested, millwork run to match the original profile rather than approximated, cabinet reveals designed with the room's actual deviation in mind, paint carried to a corner.


We document the pre-loss condition before demolition, we supplement for the scope items that make that standard possible, and we keep loss work and elective work in separate columns so both conversations stay clean.


The whole argument is one sentence: a rebuild shouldn't be identifiable as a rebuild. Everything above is what it takes to make that true.


Frequently asked questions


Why do insurance repairs look bad?

Because the scope is usually written for function rather than finish, speed is rewarded, and the transition between new and existing material is rarely anyone's explicit responsibility.


Does insurance have to make my repair look like it did before?

The policy obligation is to return the property to pre-loss condition. A visible patch, mismatched trim or a lippy tile floor is arguably not pre-loss condition — those are new conditions created by the repair.


Can I upgrade during an insurance rebuild?

Yes, and many people do — it's the cheapest moment to do work behind the walls. Upgrades aren't covered by the claim, so keep the loss scope and the elective scope documented separately from day one.


What should I photograph before demolition?

Everything, in close-up: trim profiles with a ruler in frame, tile and its box label, cabinet reveals, paint at the corners, and wide shots of every room. This is the basis for establishing pre-loss condition.


How do I know if a restoration contractor does good finish work?

Ask what tile substrate flatness they hold and how they get there, whether they flood-test shower pans, and how new trim will meet existing trim. Then go look at a job they finished two years ago and sight down a long cabinet run.


---


*Fortress Build & Finish — (206) 426-2067 · Licensed, bonded and insured — License No. FORTRBF756KA · Serving Seattle, Ballard, Magnolia, Queen Anne, West Seattle, Capitol Hill, Wallingford, Bellevue, Kirkland, Renton, Shoreline, Edmonds and the surrounding communities · fortressbuildfinish.com

Recent Posts

By ryanwatt425 September 12, 2026
Foam doesn't soundproof. Mass, decoupling, damping and sealing do. Here's what each one contributes, in order of cost-effectiveness, with real STC numbers.
By ryanwatt425 September 11, 2026
A home studio in a Seattle basement or spare room is achievable at $10,000–$60,000. Here's what to isolate, what to treat, and what's realistic in a house.
By ryanwatt425 September 11, 2026
Change orders come from three sources: discovered conditions, owner changes and estimating gaps. Only one is unavoidable. Here's how to reduce the other two.
By ryanwatt425 September 9, 2026
Washington contractors must register with L&I and carry a bond and liability insurance. Here's how to verify all three in five minutes, and what the records tell you.
By ryanwatt425 September 8, 2026
Magnolia remodels deal with steep-slope critical areas, view considerations and mid-century framing. Here's what changes the permit route and the budget.
By ryanwatt425 September 7, 2026
Water damage in your Seattle home? Here's what to do in the first 24 hours to limit damage and protect your insurance claim.
By ryanwatt425 September 6, 2026
Seattle requires a permit for bathroom work involving plumbing, electrical or structural changes. Here's which permit type applies, what it costs, and what's exempt.
By ryanwatt425 September 5, 2026
Choosing tile flooring in rainy Seattle? Learn about slip resistance, water absorption, and the best options for entryways and bathrooms.
By ryanwatt425 September 4, 2026
Local expertise matters for remodeling and restoration. Learn why a Seattle-owned contractor like Fortress Build & Finish makes a difference.
By ryanwatt425 September 3, 2026
Kirkland and Redmond each run their own permit departments and their own critical-areas rules. Here's what differs, and what the housing stock means for a remodel.
Show More