For most Seattle houses, a basement corner is the answer. Below-grade walls do isolation work for free.
Basement studios: the Seattle-specific issues
**Moisture first, always.** A finished basement in a rainy climate over a hundred-year-old drainage plan is a mold risk. Before framing anything: check the grade, the downspouts, the perimeter drain and the crawlspace. A studio full of absorption material in a damp basement is a mold job waiting to happen — mineral wool and fabric hold moisture.
**Ceiling height.** Code sets a minimum height for habitable space, and an isolated ceiling consumes 4 to 8 inches of it. Measure before designing. Sometimes the answer is isolation clips and a single furred layer rather than a full hung assembly.
**The furnace.** Often in the same space, and it's both a noise source and a duct network connecting your room to every other room in the house. Address the duct path — it's usually the biggest single leak.
**Egress.** If the room will function as a habitable room, egress requirements apply. In a basement that usually means a conforming window and window well, which is structural work through a foundation wall — and a hole in your isolation.
The budget tiers
$2,000–$8,000 — Treatment and sealing
- Acoustical sealant at every gap, box and penetration
- Solid-core door with full perimeter seals and an automatic drop seal
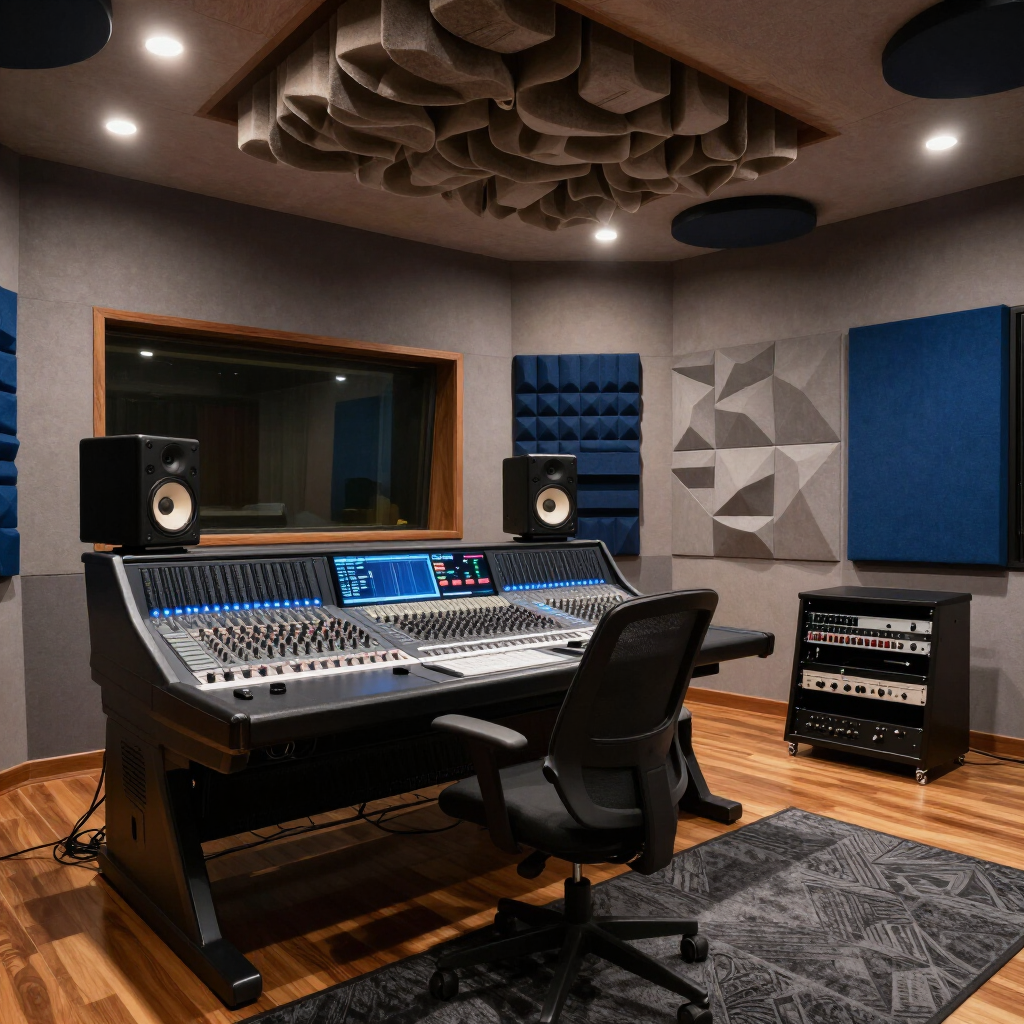
- Broadband absorption at first reflection points
- Corner bass trapping
- Heavy curtain or a plug for the window
- A rug on a hard floor
**What you get:** a room that *sounds* good and rejects a fair amount of ambient noise. For podcasting, voiceover, and most home mixing, this is genuinely enough.
$10,000–$25,000 — Real isolation on one room
- Everything above, plus
- Double 5/8" drywall with damping compound on the shared walls and ceiling
- Isolation clips and hat channel where the isolation matters most
- Insulated cavities
- Duct silencer or an offset duct run
- Boxes offset rather than back-to-back
- A properly isolated door assembly
**What you get:** a room where normal-level recording doesn't disturb the house, and the house doesn't disturb the recording. Suitable for vocals, acoustic instruments, streaming, and serious mixing.
$30,000–$60,000+ — Room-within-a-room in a basement
- Fully decoupled inner walls and ceiling
- Isolated or floated floor
- Dedicated mini-split for conditioning, so you're not on the house ducts at all
- Studio doors, sometimes a vestibule
- Dedicated circuits, isolated technical ground, planned cable pathways
**What you get:** amplified guitar and drums become plausible. In a house, on a Seattle lot, with neighbors — this is the tier where that becomes true.
Treatment: what actually matters
Most home studios are over-absorbed at high frequencies and untreated at low ones. Foam panels absorb treble efficiently and bass almost not at all, so a room covered in thin foam sounds dead and boomy at once.
Priorities:
1. **Corners first.** Thick porous absorbers in the vertical corners, floor-to-ceiling. Bass energy accumulates in corners, and this is where the biggest improvement lives.
2. **First reflection points.** Mirror trick: sit at the listening position, have someone slide a mirror along the side wall, and mark where you can see the speakers. Absorb there.
3. **Ceiling cloud** above the listening position.
4. **Rear wall** — absorption or diffusion depending on the room's depth.
5. **Leave some liveness.** A fully dead room is unpleasant to work in and doesn't translate well.
Thickness matters more than surface area. A 4-inch absorber with an air gap behind it does far more low-frequency work than a 2-inch panel of the same face area.
Permits
A studio inside an existing finished room, involving only finishes, generally doesn't need a permit. But:
- **New electrical circuits** require a permit
- **A mini-split** requires mechanical and electrical permits
- **Framing new walls** requires a permit
- **A basement conversion to habitable space** requires a permit, and triggers egress and ceiling height requirements
- **A garage conversion** requires a permit and may involve a change of use
Seattle's SDCI handles all of these; most fall under a subject-to-field-inspection permit.
How Fortress Build & Finish builds home studios
We ask what the actual complaint is before proposing a solution, because a large share of home studio problems are a door, a duct and an untreated corner — a few thousand dollars, not thirty.
When it does need real isolation, the details decide it: continuous sealing, correct screw lengths, boxes offset, penetrations planned at rough-in. In a house, where the budget is finite, getting the cheap details exactly right is what makes the expensive ones worth paying for.
Frequently asked questions
How much does a home recording studio cost?
$2,000–$8,000 for treatment and sealing, $10,000–$25,000 for real isolation on one room, $30,000–$60,000+ for a room-within-a-room in a basement.
Can you soundproof a room in an existing house?
You can improve it substantially — sealing, the door, the HVAC path, added mass. True isolation usually requires rebuilding the wall and ceiling assemblies.
Is a basement good for a home studio?
Usually the best location in a Seattle house — below-grade walls provide isolation for free. Address moisture, ceiling height and the furnace duct path first.
Do I need acoustic panels or soundproofing?
If the recordings sound bad, you need treatment. If people can hear you, you need isolation. They're different problems with different solutions, and treatment is much cheaper.
Do I need a permit to build a home studio?
Not for finishes alone. Yes for new circuits, new framing, a mini-split, or converting a basement or garage to habitable space.
---
*Fortress Build & Finish —
(206) 426-2067 · Licensed, bonded and insured — License No. FORTRBF756KA · Serving Seattle, Ballard, Wallingford, West Seattle, Bellevue, Kirkland and the surrounding communities ·
fortressbuildfinish.com*